...
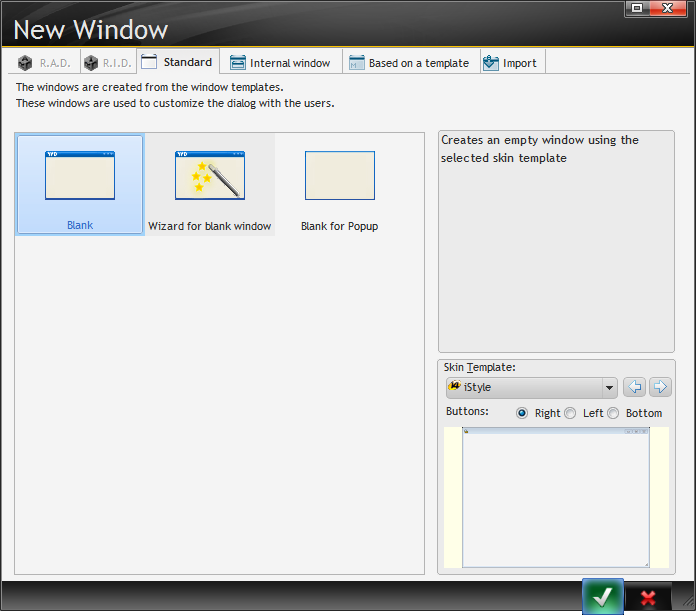
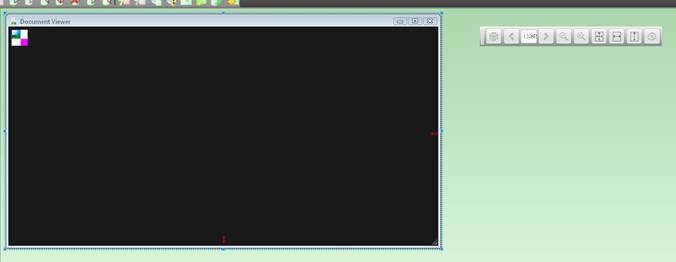
I start with a blank window:
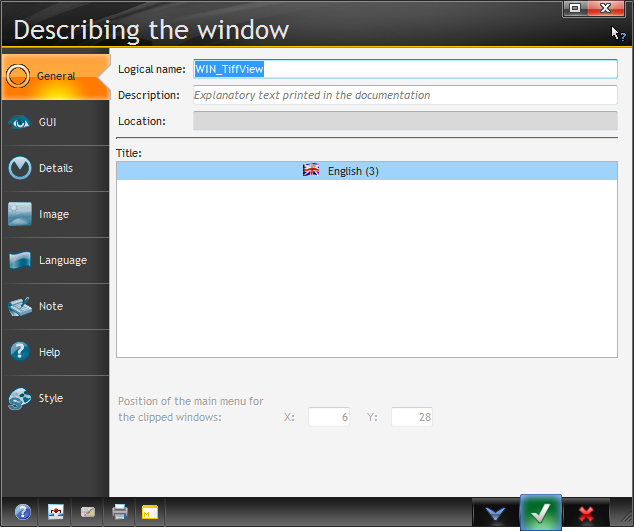
I need to change the window name from the default. I right-click anywhere in the window (the caption bar is handy) and choose Description. From that dialog I can change the Logical name:
The toolbar
I need to add a Floating Toolbar to the Window (I will go over adding the buttons as I go along).
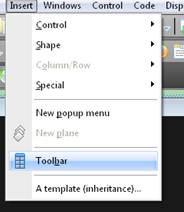
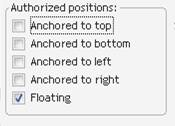
I use the Insert->Toolbar menu to create the toolbar. I set the position to Floating, and I also set the authorized positions to only floating as I do not want this to be a dockable toolbar.
That will create a toolbar window that can be positioned separately from the viewer window. I set the toolbar's name to TBAR_Navigation.
...
I also need an image control (called IMV_View) that is using all the space of the window. Here's what my window looks like:
I set the display mode for the image to Homothetic without increasing size, high quality, position to top left, and anchoring to grow both in height and width. These settings assure that the document will always fit the screen when first opened and also whenever the window is resized.
Now that I have the general housekeeping done let’s get to the coding!
...
So does the final line do? Its sets the zoom level of the image. When I started this project I used the properties of the image and the window to figure out the correct ratios and did all the math to figure out what width and height to set the image control so that it would fit the window. Then I remembered what has become the mantra of the Skype WinDev group: “If it seems hard, you are probably doing it wrong!” Sure enough, after some investigation in the help files I found that WinDev has some special constants for the zoom property to make it fit the screen, fit width or fit height. So all I have to do is set the Zoom to ZoomAdaptSize and the document will be resized to fit the current size of the image control.
...
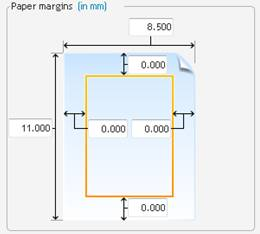
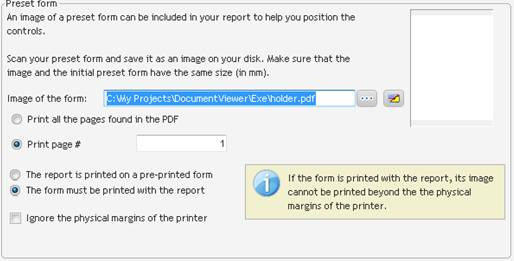
For the report procedure I create a report with no margins and just a body block. I set the background of the Report to the blank PDF mentioned earlier, and set it to use page 1.
In the opening code of the Report I redefine the procedure to accept the two parameters that I am going to pass (the Document File Name and Number of Pages), I also change the background image to the document file passed. You should notice that although I set the background image on the Report properties, the run-time property is actually associated with the Body block.
...
