A bunch of stuff cropped up yesterday, which is why I'm doing the Thursday installment on Friday, which is normally my day off in this series. That also means I'm missing today's WxLive webinar, but unfortunately the day only has so many hours.
Databases!
It's time for databases. The tutorial (on page 74) makes mention of both HyperFileSQL Classic and HyperFileSQL Client/Server. I assume that means that Classic is something along the lines of SQL access to what is essentially a flat file database (e.g. SQLite) but I guess I'll find out as I go.
Out of force of habit, so far I've been using Windows Explorer to locate the various sample and tutorial projects. But there are several easier ways.
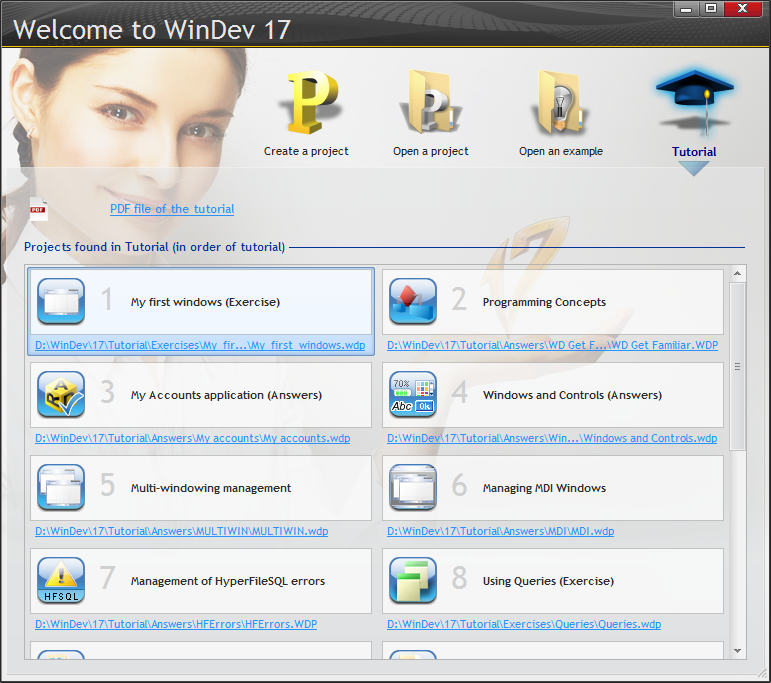
If you close whatever project you have open, in WD 17 you'll see the following window. I've clicked on Tutorial.
Clicking on Open an example brings up the examples list:
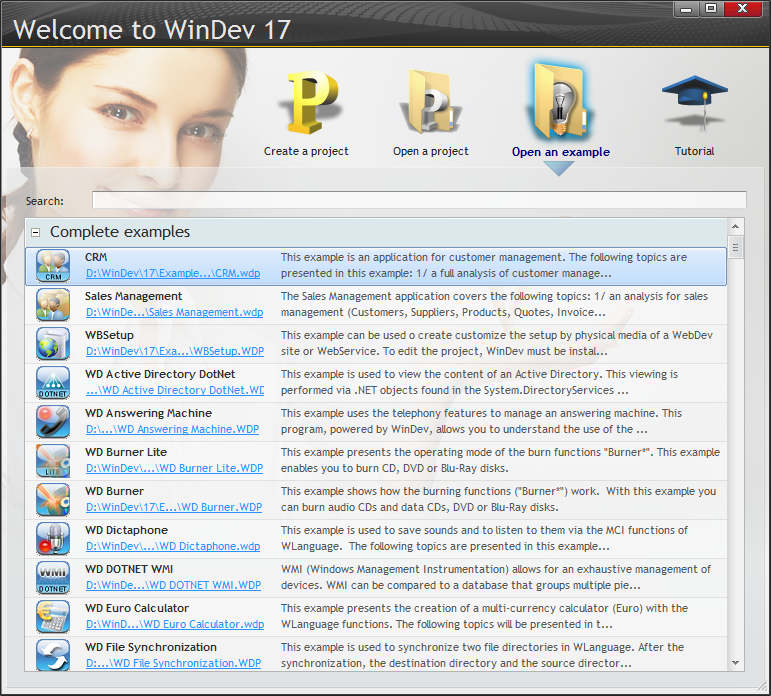
There are a lot of examples.
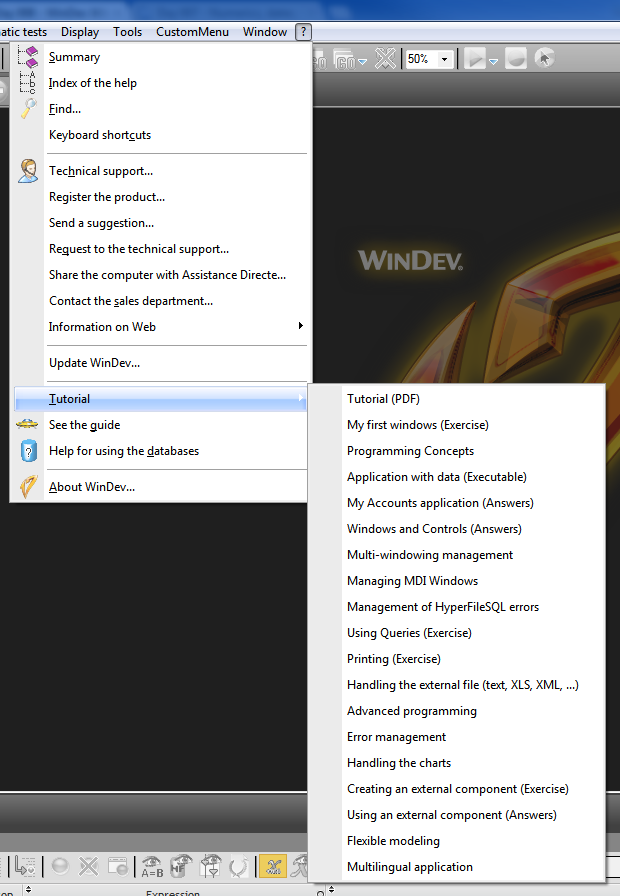
You can also do as the tutorial instructs, and choose Tutorial from the ? menu:
At least in the case of Application with data, the following appears:

And when I click OK I get a running program, but no project is loaded. That's okay, because the tutorial shows how to create the project.
In hindsight it seems obvious, but I didn't realize that I could navigate through the project wizard by clicking on the numbered steps. Doing so just takes you to the first page of that section of the wizard, so you may still need to navigate using the arrows on the bottom of the window.

Analysis
The next step is creating the analysis. In WinDev terms, the analysis is the repository of information about the database, roughly like a Clarion dictionary.
From the 6 Database section I created a new database, which process eventually led me to creating the first file (table).
For Classic HyperFileSQL, whatever name you give to the data file will also be the physical file name, with a .fic extension.
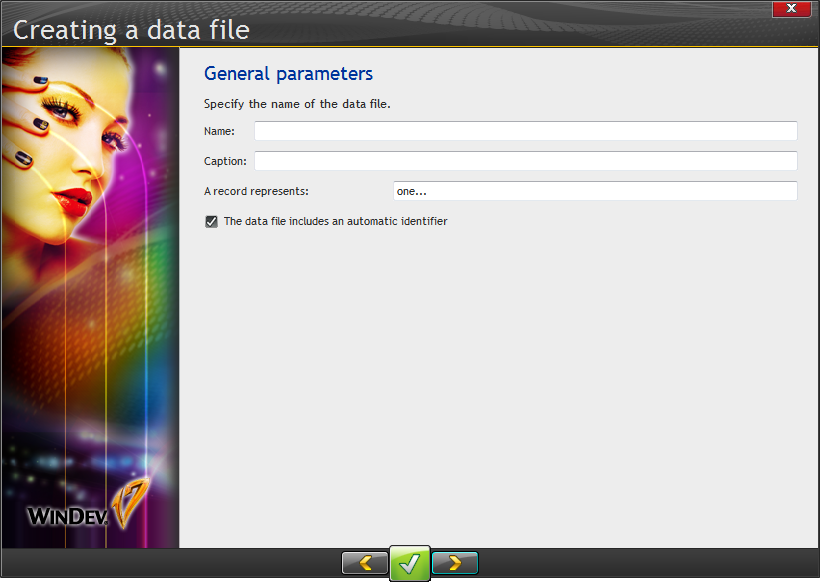
The tutorial is emphatic about the importance of "A record represents":

WinDev can automatically generate and manage primary key values if you leave that option checked.
Next I had to choose the database type for this file, indicating that it's possible to mix database types within one analysis.
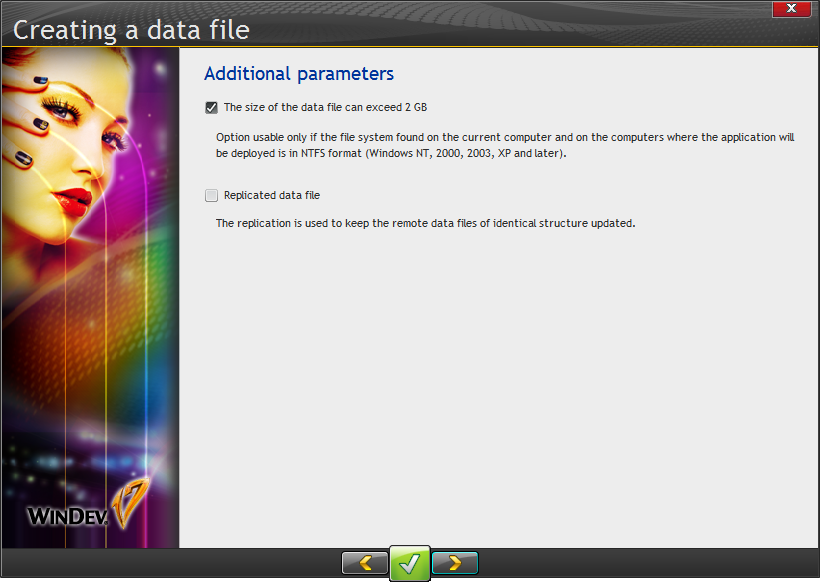
The next screen offered support for physical files beyond 2GB and replication. I accepted the defaults.
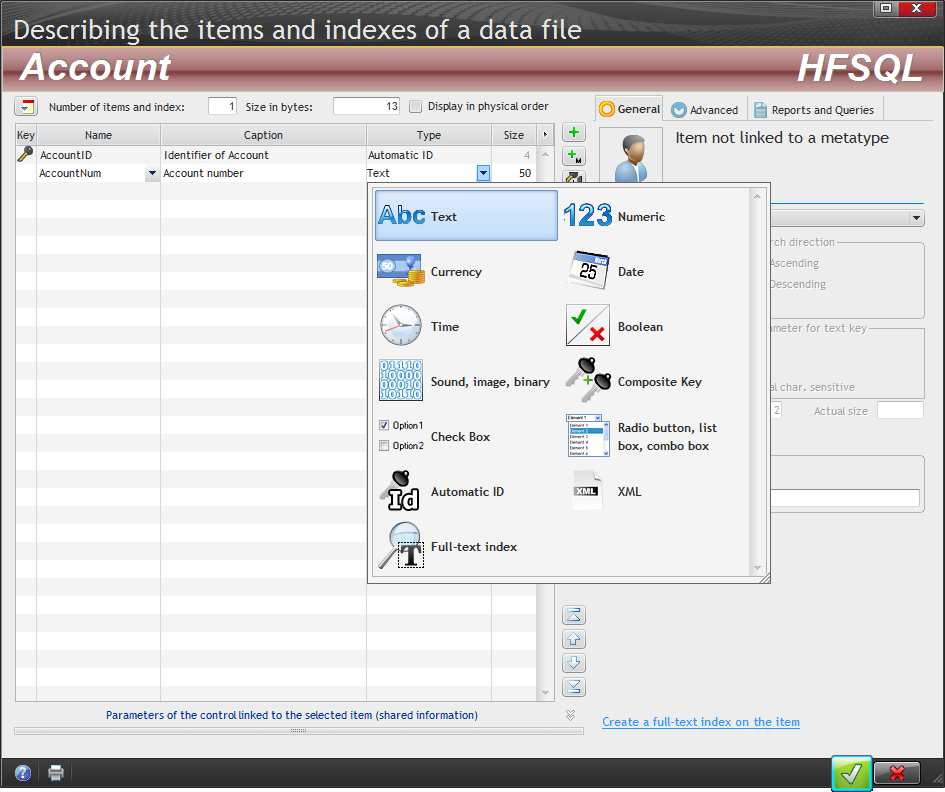
Then it was time to flesh out the data file.

Once I tabbed to the Type field I got a popup menu with the available data types. It seems odd to me to store data as an entry type.
After a field has been added you can specify whether or not it has a corresponding key, whether nulls are allowed, array dimensions etc.
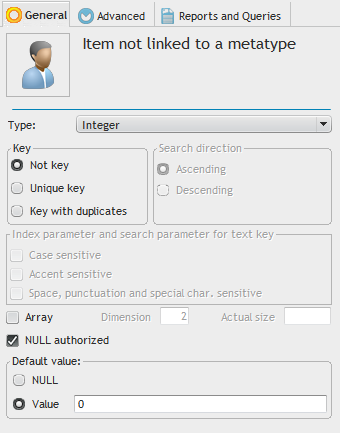
In the event that keys with single fields aren't sufficient (and I find that in most cases my keys have multiple fields), you can also create a composite key as a field.
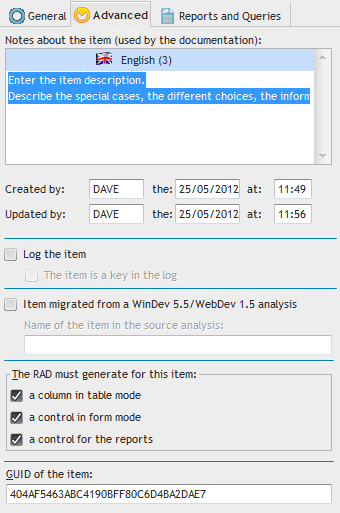
Advanced settings include logging and placement on generated windows/reports. There's also a GUID which is read-only.
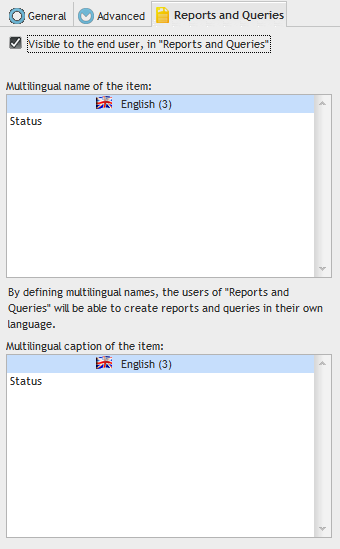
And you can set some report and query properties:
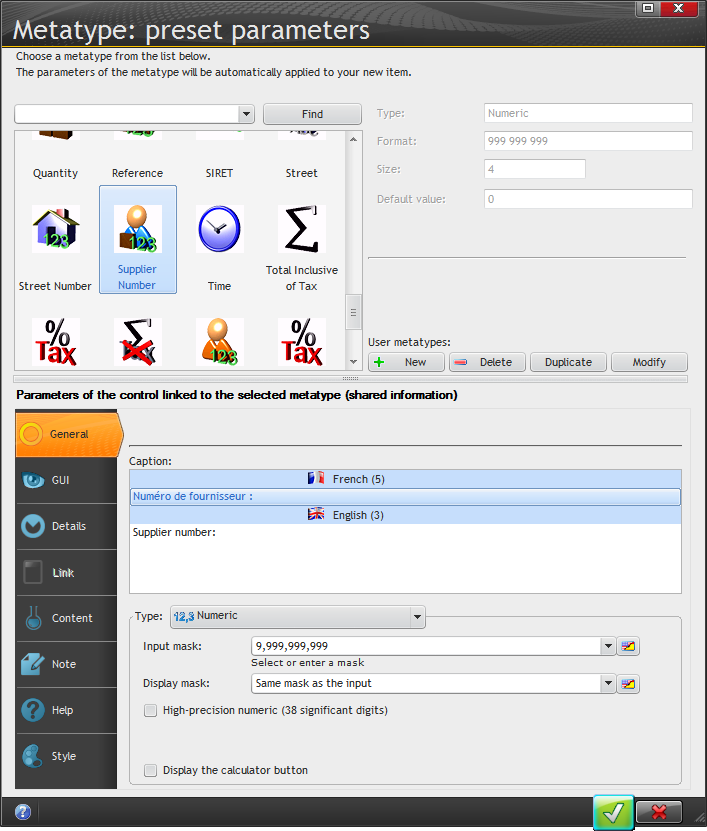
You can also create various kinds of predefined fields using metatypes, which include the data type, size/ format/picture etc.
But that leaves open the question of how to set all of this information for regular fields. Turns out you click on the Parameters link to expand the window to include the familiar properties information.

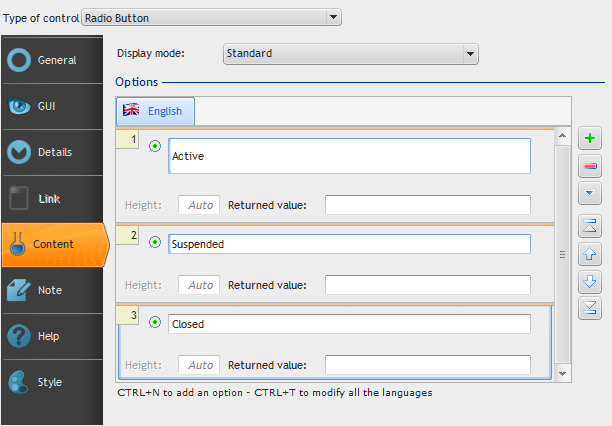
This is where you do things like create radio button options:
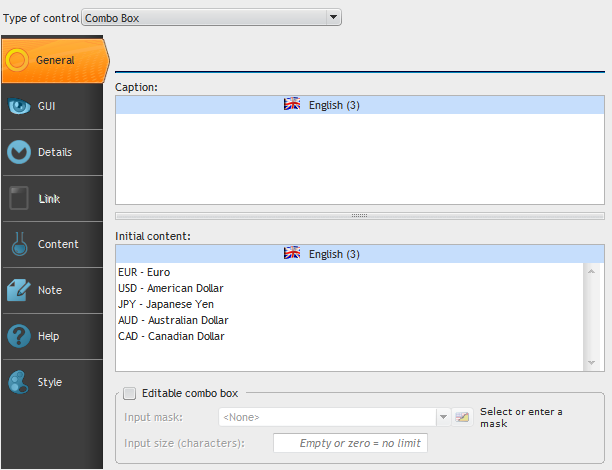
or, for instance, combo boxes:
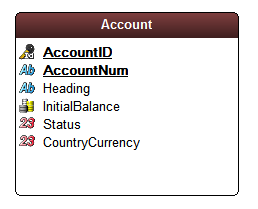
Here's my first finished file:
That's it for today - I'll resume Monday on page 83.